We've reduced our fees for selling instruments by 66%! Check out our most recent blog post for more information.

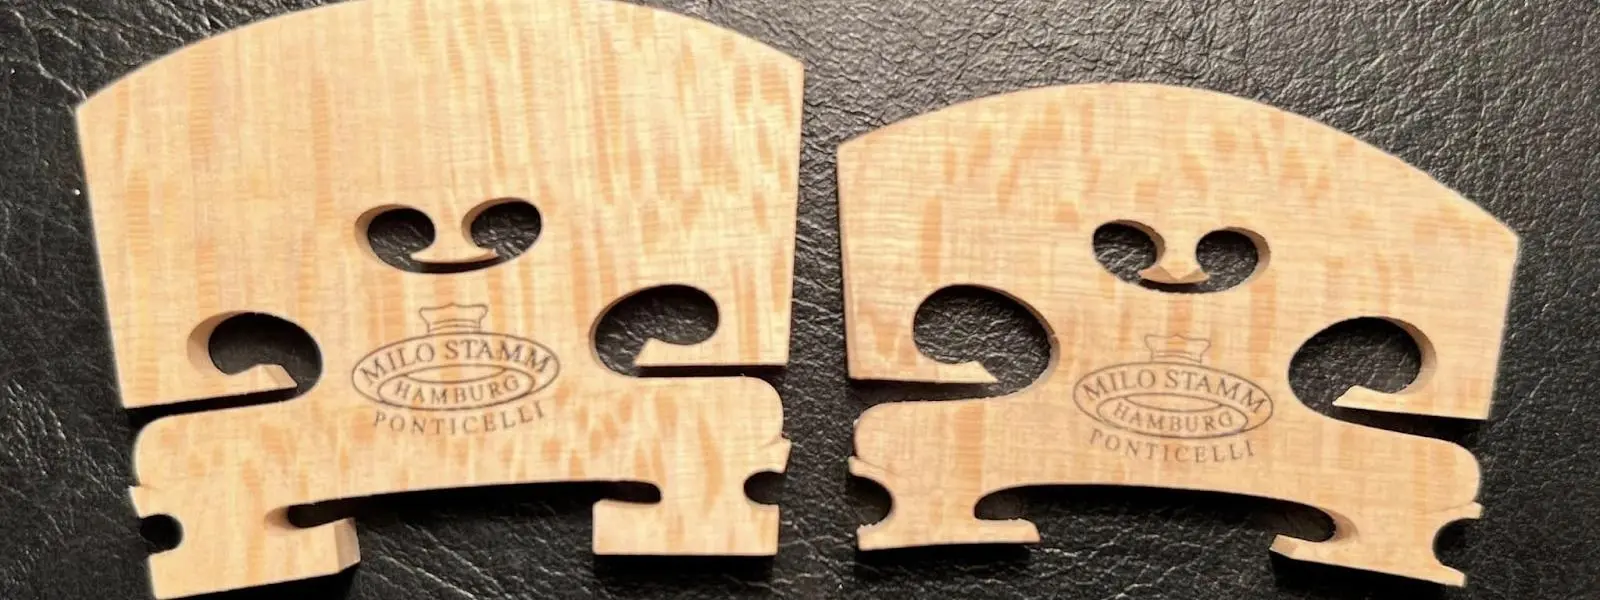
Appreciating the Artistry of Violin Bridges: An Up-Close Look

by Jacob Mehlhouse on February 6

It was suggested that I should better explain my cryptically nerdy violin posts. So here is a very detailed series of photos comparing a bridge blank to a fully cut bridge (minus thinning out ankles, but hey-who’s perfect!) Nerdy luthier explanations in the caption for each photo. This is where the knife meets the maple for luthiers and their skillful ocd. You’ll learn a few things that will make you appreciate your luthier all the more, and hopefully you’ll be able to say some super astute comments about your next bridge! I love the elegant form and magical function of the violin bridge, hope you do too.

Outline

Shaping the Blank

Before and after final cutting (including bevels). But before the pigment color, seal coat of varnish, stamp, and bridge parchment. This is basically a naked cut bridge. Many shops do not do anything more than stamp it and let it naturally oxidize. More humid environments and travel can make that less desirable as the bridge wood absorbs more moisture from the air and can warp.

A top profile photograph to show how much the belly rises off of the flat surface. Shaping it is called facing the bridge or profiling it. But the one side is rounded, and the other side is flat. The side that gets stamped with the luthiers name is the rounded side with the belly on it and the side with the bridge manufacturer’s stamp is the flat side that faces towards the tail piece.

This shows a bit of the difference in the two outer areas called the lobes that are opened up to add more sound to the instrument as well as the downward swoop of knees of the bridge above the ankles. You can also see how much wood is removed from the bottom of the blank to make the thin foot that sits on the top. Mind you, maple is really hard to cut, even a tiny little bit on these bridges is quite a chore. Somebody once jokingly asked how to describe the work as a luthier really badly and the best description I heard was we take expensive pieces of wood, and make them smaller.

Blank next to a finished bridge. A lot comes off the top and the thickness as well.

The top profile of the bridge, noticed the arch shape that’s hard to capture in the photographs. That’s the belly of the bridge that faces towards the scroll. It’s designed to keep it from warping and to make the bridge structurally stable under all the tension at the angle it sits on the top.

There’s a lot of wood that gets removed from a blank to make it into a bridge that will properly carry the vibrations of the strings into the body. If done correctly it will make an instrument sound it’s best

I like a strong bridge side profile like this that will slowly taper from the foot all the way to the very top.

I was once told that a really well cut bridge should look like a spring sitting on top of the instrument ready to bounce.

The Details

Acer is the Latin name for the maple tree, and also means “be sharp”. Maple can be as sharp as a knife.

The uvula of the bridge. I didn’t reshape the overall oval shape because these Milo bridges are very nice as blanks. But I do take my main bridge knife and very carefully cut the little pyramid shape into it and try to get the inside points to meet in the middle. Here is another one of the neurotic little OCD things that luthiers do to bridges that no player ever notices, but we luthiers will judge each other’s bridges by these details.

Bevels on the arms of the bridge. Arms? I call them that. One clean cut, if your knife is sharp, and it will look great.

This arch between the ankles should be a smooth and unending line that never ceases to stop as it moves gracefully from the lower points of each inside ankle. This is a very difficult thing to cut the way you want on certain bridge blanks because of how small the area is and the material provided by the blank. Often people will carve this area first because if it doesn’t turn out well they’ll start all over. It requires a very tiny little knife and a lot of patience. I do cheat often and finish the final curve going into the ankle with the file, but don’t tell anybody. If you do tell anyone, I will know.

Most every aspect of this bridge has been adjusted except for the ankles which are these areas right above the feet where the bridge sits on top of the instrument. These I left thicker for a more warm fiddle tone. Less wood in an area usually means more volume or focus, same for the ankles.

Sharp lil angles are made by bevels created by knife cuts that are clean. They show up nicely with some color. It’s luthier’s way of showing off how sharp their knives are. And how good their up close vision still is...

Finishing Touches

Final cut bridge with some pigments put on it and then buffed out with a paper towel. It’s like a naked bridge with a fake tan to simulate age. After this process, the bridge is brushed with a very thin spirit varnish to seal the wood and then it’s stamped.

I try not to mess up the factory stamp from the bridge manufacturer, it’s nice if you can have that on the final cut bridge for the customer. It’s usually pretty too. You can date bridges based on the bridge stamps. Lots of information is in these details if you know what to look for. Is anyone else hungry for hamburgers suddenly?

Back side with color. Pre stamp.

Front side with stamp.

I like to finish the top of the bridge with a gentle rounded curved shape to the very top profile where the strings will sit in their shallow grooves well lubricated with graphite.

A parchment made of goatskin or another hard semi-clear animal skin is put underneath the E string to prevent it from cutting into the wood. In a very nuanced situation the thickness of the parchment can slightly determine whether the E string is a brighter or more mellow sound, but it's a very small minutia. But I still think about it each time because I’m a big nerd and super OCD about everything I do on fiddles. Why not?!

The backside of the bridge has a gentle rounded shape to it. Notice the flecked pattern and not the big long tubes you’ll see in the next picture. That is on the other side of the bridge that faces the tailpiece. This is the side of the bridge that faces the scroll, it’s typically the side that the shop or the luthier will stamp their personal bridge stamp on designating that bridge plank was cut by that person or shop.

Those tubes! 😍 The longer dark lines often seen on the side of the bridge where the factory's stamp is, are referred to as tubes. On the other side, you’ll see the little flecks that are smaller and not as linear. It’s been my understanding that this is also delineation for support and structure of the bridge as one side will be stronger and resist the bridge from warping. I tend to just look at it as a really pretty bridge if the tubes are really noticeable on one side, and the other side is mostly flecks.

Nobody will see this but the luthier. Unless your bridge happens to go flying off because it was leaning too much, or your tailgut that holds the tailpiece on broke, or your bridge breaks, or you are upside down.

It should look good from all angles. As we all hope for ourselves! Work it! Work it!

Now you know more about bridges than you ever wanted to.

Jacob Mehlhouse - Tulsa Strings